3D printing might sound like something out of science fiction, but it’s already a big part of how we design and build things today. From toys and tools to prosthetic limbs and car parts, 3D printing is making it easier, faster, and more affordable to create all kinds of objects.
In this guide, we’ll break down what 3D printing actually is, how it works, and why it’s such a big deal in so many industries. Whether you’re just curious or thinking about trying it yourself, this will give you a clear starting point.
What Is 3D Printing?
3D printing is a way of making physical objects from digital files. Instead of cutting or shaping something from a bigger piece of material (like carving wood), a 3D printer adds material little by little to build something up from nothing. That’s why it’s also called additive manufacturing.
Think of it like squeezing frosting on a cake—layer by layer—until you’ve built the final shape. The printer lays down one thin layer of material at a time, following instructions from a computer file, until the object is complete.
This method is now used in everything from small DIY projects to complex manufacturing. It’s popular because it saves time, reduces waste, and lets people make detailed or custom parts easily.
A Quick Look at the History
The idea of 3D printing has been around for a while. Back in 1984, an American engineer named Charles W. Hull came up with the first working 3D printer. He called the process stereolithography, and it used light to harden liquid resin into solid layers.
Hull later co-founded a company called 3D Systems, which helped bring this new technology into industries like aerospace, healthcare, and automotive.
Since then, 3D printing has grown fast. Printers have become cheaper, easier to use, and more powerful. Today, even hobbyists and students can buy compact 3D printers for home use.
How Does 3D Printing Work, Step by Step?
Now let’s break it down in plain English. 3D printing usually follows four main steps:
1. Designing the Object
Before you can print anything, you need a 3D model of the object. This digital model acts like a blueprint and is created using software known as CAD (Computer-Aided Design).
There are many beginner-friendly programs out there like Tinkercad, Fusion 360, or Blender. If you don’t want to create a model from scratch, you can also download one from free online libraries like Thingiverse or MyMiniFactory.
Another option is using a 3D scanner to scan real-life objects and turn them into printable files.
2. Slicing the Design
Once your model is ready, it needs to be sliced. This is where another piece of software, called a slicer, turns your 3D model into thin horizontal layers and creates the instructions the printer needs to follow.
These instructions are saved in a file called G-code. The G-code tells the printer where to move, when to deposit material, and how fast to go. It’s like giving your printer a detailed to-do list.
3. Printing the Object
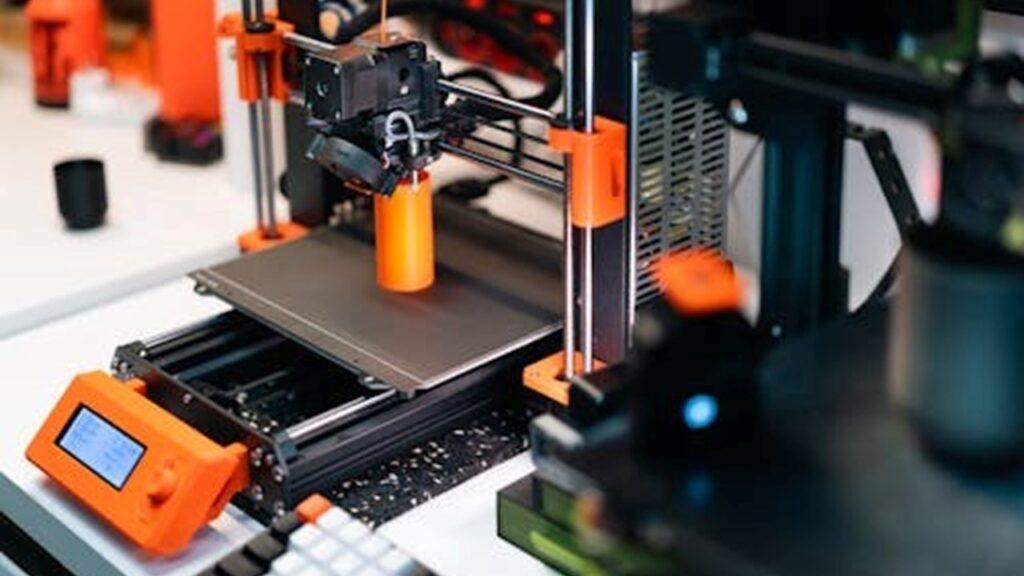
After slicing, it’s time to start printing. The 3D printer reads the G-code file and begins building the object layer by layer. It starts from the bottom and slowly works its way up.
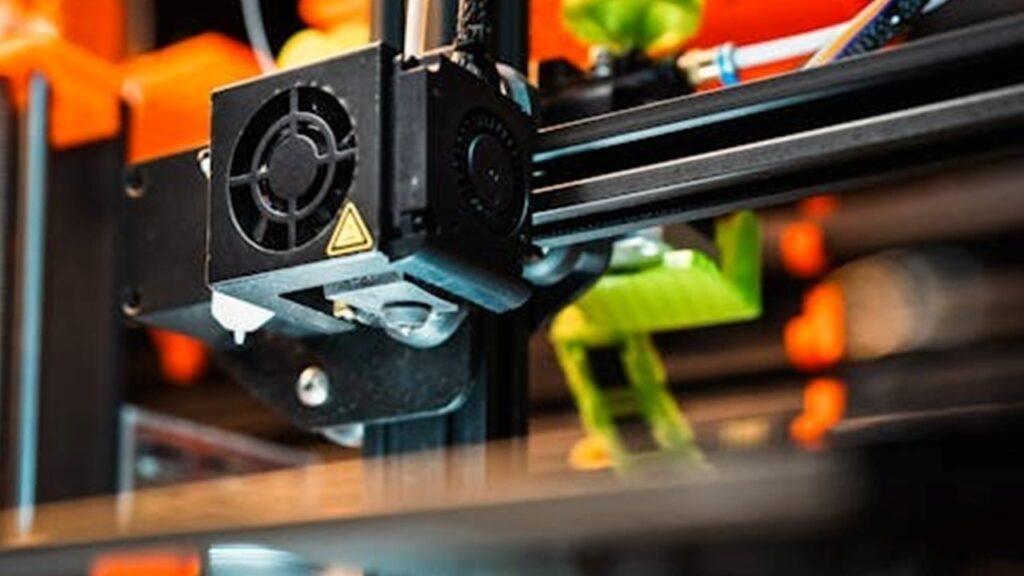
Most common home printers use a method called FDM (Fused Deposition Modeling). They melt plastic filament and squeeze it out through a heated nozzle, like a tiny hot glue gun, tracing each layer.
Other printers use different techniques like lasers or liquid resin, which we’ll cover later in the article.
Different Types of 3D Printing Technologies
Not all 3D printers work the same way. While the basic idea—building layer by layer—is the same, the way they do it can vary depending on the machine and the materials used. Here are the most common types:
Fused Deposition Modeling (FDM)
This is the most popular and affordable type of 3D printing, especially for beginners and hobbyists.
FDM printers work by melting a plastic filament and feeding it through a heated nozzle. The printer moves the nozzle around to draw each layer, one on top of the other, until the object is finished. It’s kind of like using a hot glue gun with a robot arm.
Pros:
- Easy to use
- Cheap materials
- Great for simple parts and prototypes
Cons:
- Lower detail compared to other methods
- Not ideal for really small or intricate pieces
Stereolithography (SLA)
SLA printers use a laser to harden liquid resin into solid plastic. The laser draws each layer inside a tank of resin, and the part slowly forms as the printer moves the build platform.
This method can create very detailed and smooth prints, making it popular in dentistry, jewelry, and model-making.
Pros:
- Very high detail and smooth finish
- Great for small, intricate items
Cons:
- Resin can be messy and needs UV curing
- More expensive than FDM
Selective Laser Sintering (SLS)
SLS printers use a laser too, but instead of liquid resin, they work with powdered materials. The laser melts and fuses the powder layer by layer to form the object.
SLS is often used in professional or industrial settings because it doesn’t need support structures and works well with tough materials like nylon.
Pros:
- Strong, functional parts
- No need for supports
- Good for complex shapes
Cons:
- Expensive machines
- Not beginner-friendly
- Powder can be messy
Materials Used in 3D Printing
One of the coolest things about 3D printing is the wide range of materials you can print with. The type of material you choose depends on what you’re making and which type of printer you’re using.
Here’s a breakdown of the most common 3D printing materials and what they’re used for:
Plastic Filaments (Used in FDM Printers)
These are the go-to materials for most beginners and hobbyists.
- PLA (Polylactic Acid): Easy to use, eco-friendly, and great for simple prints. It’s a good starter material.
- ABS (Acrylonitrile Butadiene Styrene): Stronger and more heat-resistant than PLA, but a bit trickier to print.
- PETG (Polyethylene Terephthalate Glycol): A mix of strength and flexibility. It’s often used for food containers and mechanical parts.
Resin (Used in SLA/DLP Printers)
Liquid resin is used in stereolithography printers. It gives you smoother finishes and finer detail than plastic filament, but it’s messier and needs to be cured under UV light after printing.
- Standard Resin: Great for high-detail models and miniatures.
- Tough or Flexible Resin: Designed for more durable or bendable parts.
Powdered Materials (Used in SLS Printers)
SLS printers use powdered plastics, metals, or composites. These materials are mostly used in industrial settings.
- Nylon Powder: Strong, flexible, and good for functional parts.
- Metal Powder: Used to print metal parts, often in aerospace or automotive industries. Very expensive and specialized.
Specialty Filaments
Some filaments are blended with other materials for unique effects or improved strength.
- Wood Filament: PLA mixed with wood particles. It looks and smells like wood when printed.
- Carbon Fiber Filament: Plastic reinforced with carbon fibers. It’s lightweight and very strong.
- Flexible Filament (TPU or TPE): Soft and rubbery, perfect for phone cases or wearable items.
- Conductive Filament: Still experimental, but can be used to make simple circuits.
What Can You Make With a 3D Printer?
The real beauty of 3D printing is its flexibility. You’re not stuck making just one kind of thing. Depending on the printer and materials, you can create everything from everyday items to high-tech tools.
Here are some common examples:
- Prototypes and product models: Inventors and designers often use 3D printers to test new product ideas. Instead of waiting weeks for a factory, they can print a working prototype in a day or two.
- Spare parts and repairs: Missing a plastic piece for your fan or a broken knob for your stove? You can 3D print small replacement parts right at home.
- Tools and gadgets: Custom jigs, holders, or fixtures can be printed for use in home workshops, schools, or even labs.
- Medical devices: Used to make prosthetics, dental tools, hearing aids, and surgical models for practice.
- Art and jewelry: Artists and designers use 3D printing to make sculptures, fashion accessories, and custom jewelry.
- Educational models: Schools use 3D printers to create hands-on learning tools, like molecule models or working gears.
- Full-scale projects: Some large machines can print houses, bridges, and even car parts, layer by layer.
Pros and Cons of 3D Printing
Like any technology, 3D printing has its ups and downs. Here’s a quick look at the advantages and some of the trade-offs.
Pros
- Fast Prototyping: You can go from idea to physical object in hours instead of weeks.
- Customizable: Easily change designs for personalized items without extra cost.
- Low Waste: Unlike traditional methods that cut away material, 3D printing only uses what’s needed.
- Accessible: Desktop printers are affordable and small enough for home use.
Cons
- Limited Materials: Most home printers can only use certain plastics. Metal and resin options are pricier.
- Not Always Strong: Layered prints can have weak spots, especially if the material or settings aren’t just right.
- Slow for Big Projects: Large or detailed prints can take several hours, or even days.
- Post-Processing Needed: Some prints need cleanup work like sanding or removing supports.
How Much Does It Cost to Get Started?
Getting into 3D printing doesn’t have to break the bank. Here’s a rough idea of what to expect.
- Entry-Level Printers: Basic FDM printers start around $200 to $400. Great for learning and small projects.
- Mid-Range Printers: Printers with better speed, precision, or larger build areas usually cost between $500 and $2,000.
- Resin Printers: SLA printers can start as low as $200 for small models but expect to pay more for higher-end options.
- Industrial Printers: These are used by factories and engineering teams. They can cost tens of thousands of dollars.
Also, don’t forget:
- Filament or resin costs
- Tools for cleanup or post-processing
- Occasional upgrades or replacement parts
Final Thoughts
3D printing isn’t just for tech experts or big companies anymore. It’s a creative, hands-on way to turn ideas into real objects, whether you’re making a simple phone stand or a working prototype.
With so many affordable options and tools available, choosing the right 3D printer has become easier for anyone looking to give it a try.
As the technology keeps improving, we’re likely to see even more uses—faster printing, stronger materials, and maybe even printed organs or homes becoming common.
Whether you’re a student, hobbyist, or small business owner, 3D printing opens the door to endless possibilities.
FAQs
Can I use a 3D printer at home?
Yes! Many entry-level 3D printers are designed for home use. They’re compact, easy to use, and fairly affordable. Just make sure you have a well-ventilated space if you’re printing with materials that give off fumes.
How long does it take to print something?
It depends on the size and detail of the object. A small part might take 30 minutes, while larger or more complex items can take several hours or even days.
Is 3D printing safe?
Generally, yes. Just follow basic safety rules—don’t touch hot nozzles, keep the printer away from children during operation, and be cautious when handling resin or fumes from melted plastic.
Can I print food or clothes?
Some printers are made for printing food like chocolate or pasta, but they’re still a bit niche. As for clothes, 3D printing is being explored in fashion, but it’s more common for accessories than full outfits.
What’s the best 3D printer for beginners?
FDM printers like the Creality Ender 3 or Prusa Mini are great starter options. They’re affordable, have good community support, and work well for basic prints.

At our core, we’re a group of passionate 3D printer enthusiasts. We dive deep into the world of any type of 3D printing around us. We try to provide as much value to the readers with our information and how to blog articles as possible along with proper information-based reviews as well.

