To use a 3D printer, you first need a design file (usually an STL file), which you create or download. Next, you process the file through slicing software like Cura or PrusaSlicer, which tells the printer exactly how to print the object. After that, you load the material, like PLA or ABS filament, into the printer, set up the machine (level the bed, check the nozzle), and hit print. The printer builds the object layer by layer, fusing the material together. Once the print is done, you might need to clean it up by removing supports, sanding rough edges, or painting it for a final touch.
This article will guide you through the step-by-step process of using a 3D printer, covering everything from choosing a design to post-processing your prints.
What Is a 3D Printer and How Does It Work?
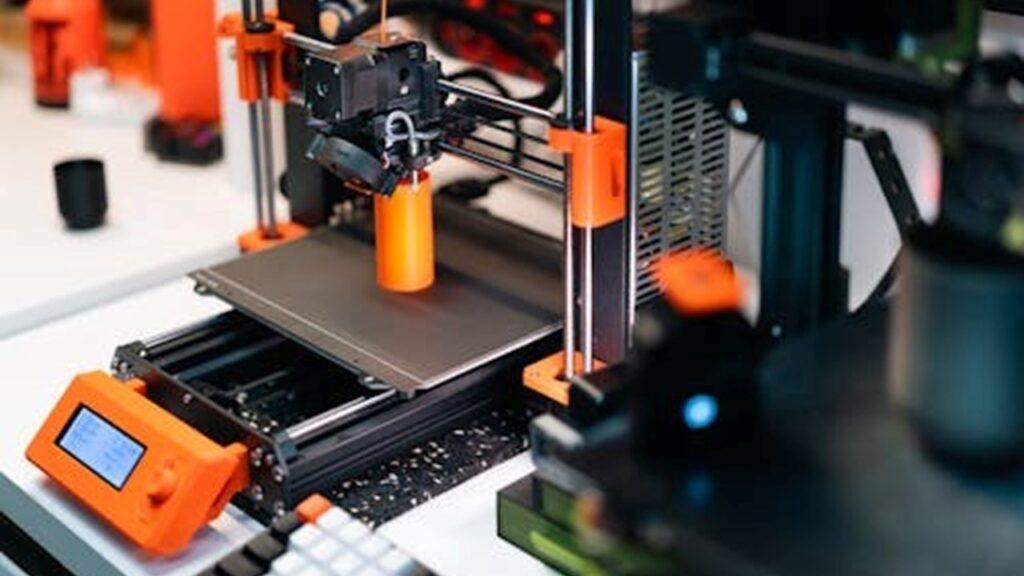
A 3D printer is a machine that 3D prints objects by adding material layer by layer. It follows a digital design file and turns it into a physical item by carefully laying down melted plastic or curing liquid resin into a solid shape. The printer moves the material around, following exact paths from the design, until the full object is built.
Think of it like stacking thin layers of clay or glue. Each layer adds to the one before it, and slowly, a full shape appears. This process is called additive manufacturing because you’re adding material instead of cutting it away.
So how does a 3D printer work? Different types of 3D printers use different materials and methods. FDM printers melt plastic filament and build up shapes, while resin printers cure liquid resin with a light source. Both follow the same basic idea: turn a design into something real by building it up, one layer at a time.
What You Need to Start 3D Printing
To get started with 3D printing, you need a 3D printer, a design file, slicing software, material like filament or resin, and a few basic tools. A safe, flat workspace is also important so your printer stays stable while it runs.
3D Printer Options for Beginners
For most beginners, an FDM (Fused Deposition Modeling) printer is the easiest and most affordable option. Popular models like the Creality Ender 3 or the Prusa Mini are beginner-friendly and widely used. Resin printers, like the Anycubic Photon or Elegoo Mars, give more detail but need extra care and safety measures, like gloves and good ventilation.
Materials (Filaments or Resins)
Most beginners use PLA filament because it’s easy to print with and works well for simple projects. Other filaments like PETG, ABS, or TPU have special properties like flexibility or heat resistance but can be trickier to handle. If you’re using a resin printer, you’ll need liquid resin, which hardens with light. Resin needs careful handling because it can be messy and isn’t safe to touch with bare skin.
Slicing Software (STL to G-code)
Slicing software takes your design file and turns it into a set of instructions for your printer. Popular free slicers include Cura, PrusaSlicer, and Creality Slicer. You load your design file (usually in STL format), adjust settings like layer height and print speed, and the software slices the model into thin layers. It then creates a G-code file, which tells the printer exactly how to make each layer.
Design Files
Your printer needs a digital design file to know what to make. You can make your own designs using software like Tinkercad, Fusion 360, or Blender. If you’re not ready to make your own yet, you can download free designs from sites like Thingiverse, Printables, or MyMiniFactory. Just make sure the file matches your printer type and is ready for slicing.
Basic Tools and Workspace Setup
A few tools will make your printing experience easier. A scraper helps remove prints from the bed. Tweezers are handy for removing small pieces. A glue stick or painter’s tape can help your prints stick better to the bed. A small toolkit for maintenance is also helpful. Make sure to set up your printer on a flat, stable surface, away from drafts or shaking. If you’re using resin, you’ll also need gloves, paper towels, and a safe area for handling the liquid resin and cleaning up.
How To Use a 3D Printer: Step-By-Step Process
Here is the step-by-step process to use a 3D printer:
- Make or download a design file (usually in STL format).
- Load the design into slicing software to prepare it for printing.
- Set up your 3D printer, including leveling the bed and loading the filament.
- Send the file to the printer and begin the print.
- Keep an eye on the print as it runs to catch any issues.
- Once the print is finished, remove it, clean it up, and do any extra steps like sanding.
Now, let’s break down each step in detail so you can follow along easily.
Step 1: Make or Find a 3D Design
Before you can print anything, you need a 3D design file. This file tells the printer what shape to make. You can make your own design using software like Tinkercad or Fusion 360. These programs let you draw or model your ideas in 3D on your computer. If you’re not ready to make your own designs yet, you can download ready-made models from websites like Thingiverse or Printables. Just be sure to pick a file type your printer can use, like STL.
Step 2: Prepare Your File in Slicing Software
Once you have a design, you need to prepare it for the printer. This is where slicing software comes in. Slicing software, like Cura or PrusaSlicer, takes your design and slices it into thin layers. It also adds support structures if needed and tells the printer how fast to print, how much material to use, and more. The slicer creates a G-code file, which is the step-by-step set of instructions your printer will follow to make the object.
Step 3: Set Up Your 3D Printer
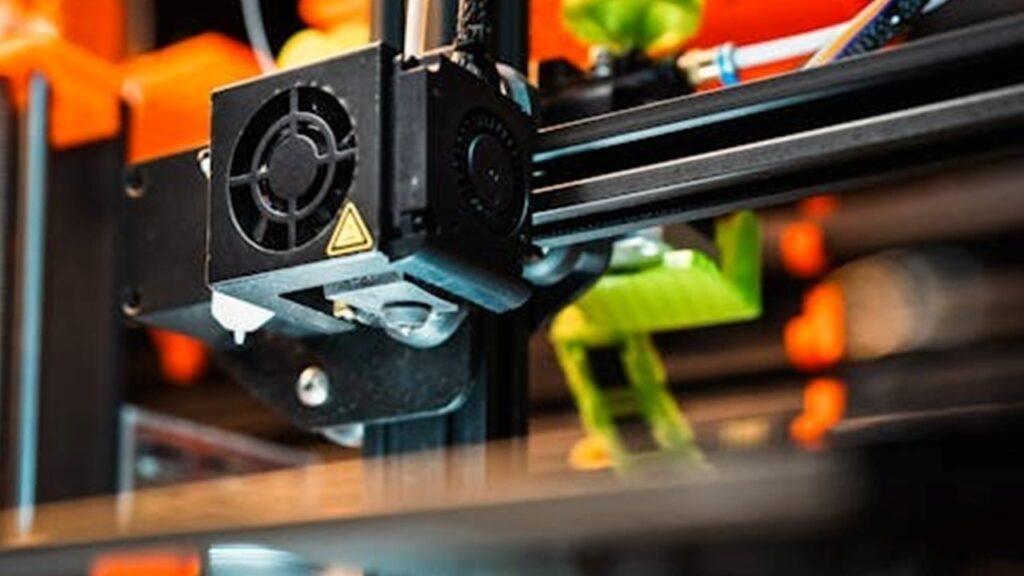
Before printing, your printer needs to be ready. Place it on a flat, stable surface. For FDM printers, load your filament spool and feed it into the extruder. Make sure the bed is clean and level, this is important for getting a good first layer. Some printers have auto-bed leveling, while others need you to adjust it manually using screws and a piece of paper. For resin printers, you’ll also need to pour resin into the vat and secure the build plate.
Step 4: Start Printing
Now it’s time to print! Send your G-code file to the printer. This is usually done by loading the file onto a USB drive or SD card and plugging it into the printer. Some printers also connect to your computer or WiFi. Once you hit “Print,” the machine will heat up, and the nozzle or laser will follow the G-code instructions, slowly building your object one layer at a time.
Step 5: Monitor the Print
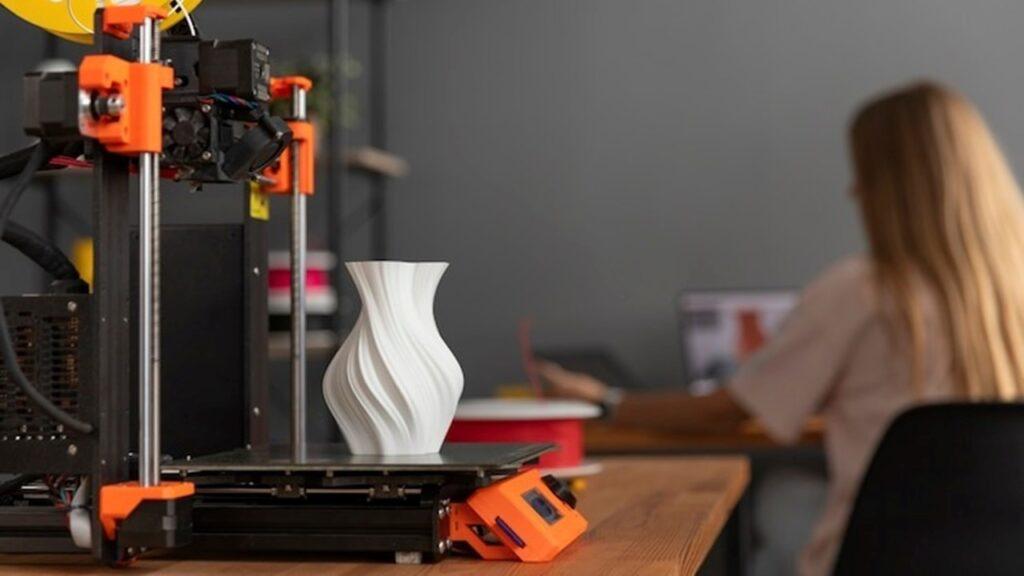
It’s a good idea to keep an eye on your print, especially during the first few layers. This is when problems like the print not sticking to the bed or the filament jamming can happen. If the print looks good and is sticking well, you can check on it every so often, but don’t leave it for too long, especially if it’s a big job. For resin printers, you’ll want to make sure the vat has enough resin and the print is forming correctly on the build plate.
Step 6: Post-Processing Your Print
Once the print is done, it’s time to clean up. For FDM prints, you may need to peel or scrape the part off the bed and remove any support material. Some prints might have rough edges that can be sanded down for a smoother finish. If you used a resin printer, you’ll need to wash the print in isopropyl alcohol and cure it under a UV light to make it fully solid. You can also paint or coat your print if you want it to look more polished.
Common 3D Printing Issues and Troubleshooting Tips
3D printing issues happen to everyone, and knowing how to spot and fix them will save you time and materials. Common problems include the first layer not sticking to the bed, stringing between parts, warping, clogged nozzles, and prints coming out with shifted or messy layers. With a little patience, you can often solve these problems with small adjustments to your setup or settings.
Let’s go over the most common problems and how to handle them.
Bed Adhesion Problems (First Layer Not Sticking)
The first layer of a 3D print is like the foundation of a house. If it doesn’t stick, the whole print can shift or fail. Bed adhesion problems often happen when the bed isn’t level, the nozzle is too far from the bed, or the bed isn’t clean.
How to fix it:
- Re-level the bed. Use a piece of paper between the nozzle and bed to check spacing.
- Lower the nozzle slightly if the filament isn’t sticking.
- Clean the bed with isopropyl alcohol to remove dust or oils.
- Apply a thin layer of glue stick or painter’s tape to help the filament grip.
- Preheat the bed to the right temperature for your material.
Stringing or Oozing
Stringing happens when small bits of filament stretch across empty spaces, making webs on your print. This usually happens when the printer moves the nozzle but doesn’t retract the filament.
How to fix it:
- Increase retraction distance in your slicer.
- Raise retraction speed to pull filament back quickly.
- Lower print temperature slightly to reduce oozing.
- Keep the nozzle clean—sometimes residue causes extra drips.
Warping and Curling
Warping happens when the edges of a print lift off the bed, making the print curl or twist. This is common with materials like ABS or when the bed cools too fast.
How to fix it:
- Use a heated bed and keep it at the right temperature for your filament.
- Add a brim or raft to your print for better grip.
- Enclose your printer to keep heat steady, especially for ABS.
- Avoid cooling fans in the first few layers for better adhesion.
Clogged Nozzle
A clogged nozzle means no filament is coming out, or it’s coming out unevenly. This can happen when dirt or old filament blocks the nozzle or the temperature is too low.
How to fix it:
- Heat the nozzle and perform a “cold pull” by pulling out softened filament to clean it.
- Use a thin needle to clear the nozzle hole.
- Check your filament for dust or moisture, and store it in a dry place.
- If clogs happen often, consider replacing the nozzle.
Layer Shifts or Inconsistent Layers
If your print looks like it jumped sideways or has wobbly lines, that’s a layer shift. It usually happens when belts are loose, something bumps the printer, or motors skip.
How to fix it:
- Tighten the belts on the X and Y axes. They should feel firm, not loose.
- Check the pulleys and screws for tightness.
- Make sure the printer is on a stable, flat surface.
- Slow down the print speed in your slicer to reduce stress on the motors.
Safety Precautions for 3D Printing at Home
3D printing is a fun and useful hobby, but it’s important to keep safety in mind. Some materials and machines can release fumes, get very hot, or have moving parts that can pinch or cut. Following a few simple safety steps will keep you and your home safe.
Here are important safety tips for 3D printing at home:
- Always use your printer in a well-ventilated space. Filaments like ABS and resin materials can give off fumes that aren’t safe to breathe for long periods.
- Avoid leaving your printer running overnight or unattended for long prints. This helps prevent fires or overheating issues.
- Keep the printer on a stable, heat-resistant surface to avoid tipping or accidental bumps.
- Use gloves and safety glasses when handling liquid resins, as they can irritate skin and eyes.
- Keep cleaning supplies like isopropyl alcohol and paper towels nearby for easy cleanup, especially with resin printing.
- Keep pets and kids away from the printer while it’s running. The nozzle and bed can get very hot, and moving parts can catch fingers or tails.
- Store filaments and resins in a dry, cool place to prevent moisture damage or accidental spills.
Taking these simple precautions helps make 3D printing safe and enjoyable at home.
Tips for 3D Printing Success (Beginner Hacks)
Want to get better results with your 3D printer? Here are some beginner hacks that can help you avoid mistakes, save time, and make great prints.
These simple tips can make your 3D printing smoother and more fun:
- Start Small: Begin with simple prints like keychains or small boxes to learn the basics before tackling big projects.
- Use PLA Filament: PLA is the easiest filament to work with. It doesn’t warp as much and sticks to the bed more easily than others.
- Check Your First Layer: Always watch the first few layers. If they don’t stick well, stop the print, adjust your settings, and try again.
- Keep It Clean: Regularly clean your bed and nozzle to prevent clogs and poor adhesion. A little maintenance goes a long way.
- Store Filament Properly: Keep your filament in a dry, sealed container to avoid moisture, which can ruin prints.
- Slow Down: Printing at a slower speed can improve the quality, especially for detailed models.
These small changes can help you avoid common problems and improve your 3D prints right away.
Final Thoughts
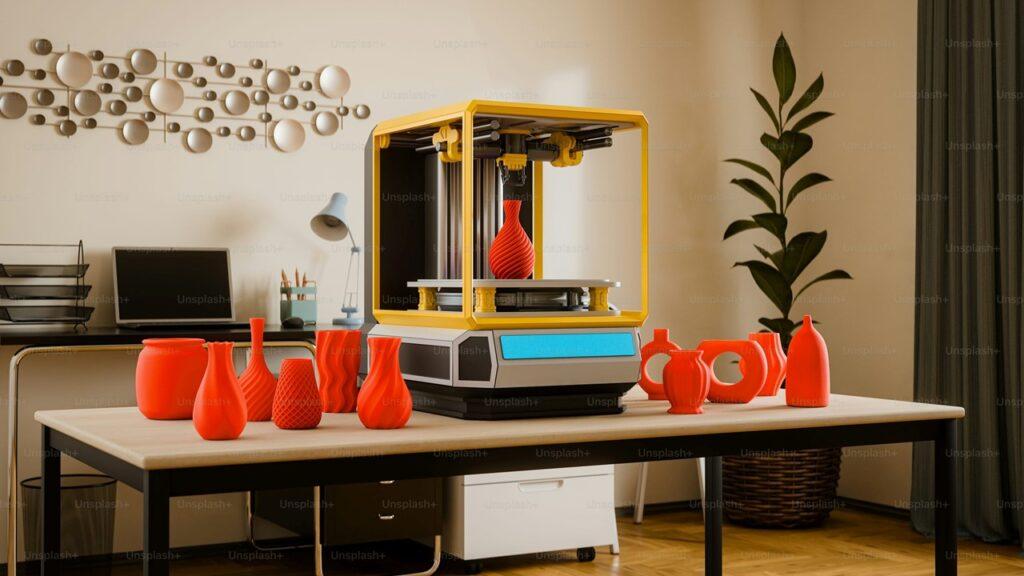
Using a 3D printer can feel like magic. You go from an idea in your head to a real, physical object in just a few hours. Whether you’re making toys, tools, or parts for a project, it’s all about learning and having fun along the way. Every print teaches you something new, and the more you experiment, the better you’ll get.
For beginners, the best way to learn is by doing. Don’t be afraid of mistakes—failed prints happen to everyone. Just try again, adjust your settings, and see what works. Your skills will grow with each attempt, and soon you’ll be confident in using slicing software, adjusting printer settings, and making your own models.
So go ahead and start printing. Find a design, load up your printer, and watch it work. With a little patience and creativity, you’ll be making useful and unique items that show off your skills in no time.
Related FAQs
What is the best 3D printer for beginners?
The best 3D printer for beginners is usually an FDM printer like the Creality Ender 3 or Prusa Mini. They’re easy to use, affordable, and have strong community support.
Can I 3D print without designing my own files?
Yes, you can download free 3D models from websites like Thingiverse or Printables. These files are ready to print and a great way to start learning.
How long does it take to print something?
It depends on the size and complexity. Small prints may take 30 minutes to a few hours, while large, detailed models can take several hours or even days.
Is 3D printing expensive to maintain?
3D printing is affordable if you stick to basic materials like PLA. Occasional maintenance, like replacing nozzles or cleaning, is low-cost.
Is 3D printing safe for home use?
Yes, but you need to take precautions. Always use your printer in a ventilated space, handle hot parts carefully, and keep kids and pets away from moving parts and heated surfaces.
At our core, we’re a group of passionate 3D printer enthusiasts. We dive deep into the world of any type of 3D printing around us. We try to provide as much value to the readers with our information and how to blog articles as possible along with proper information-based reviews as well.